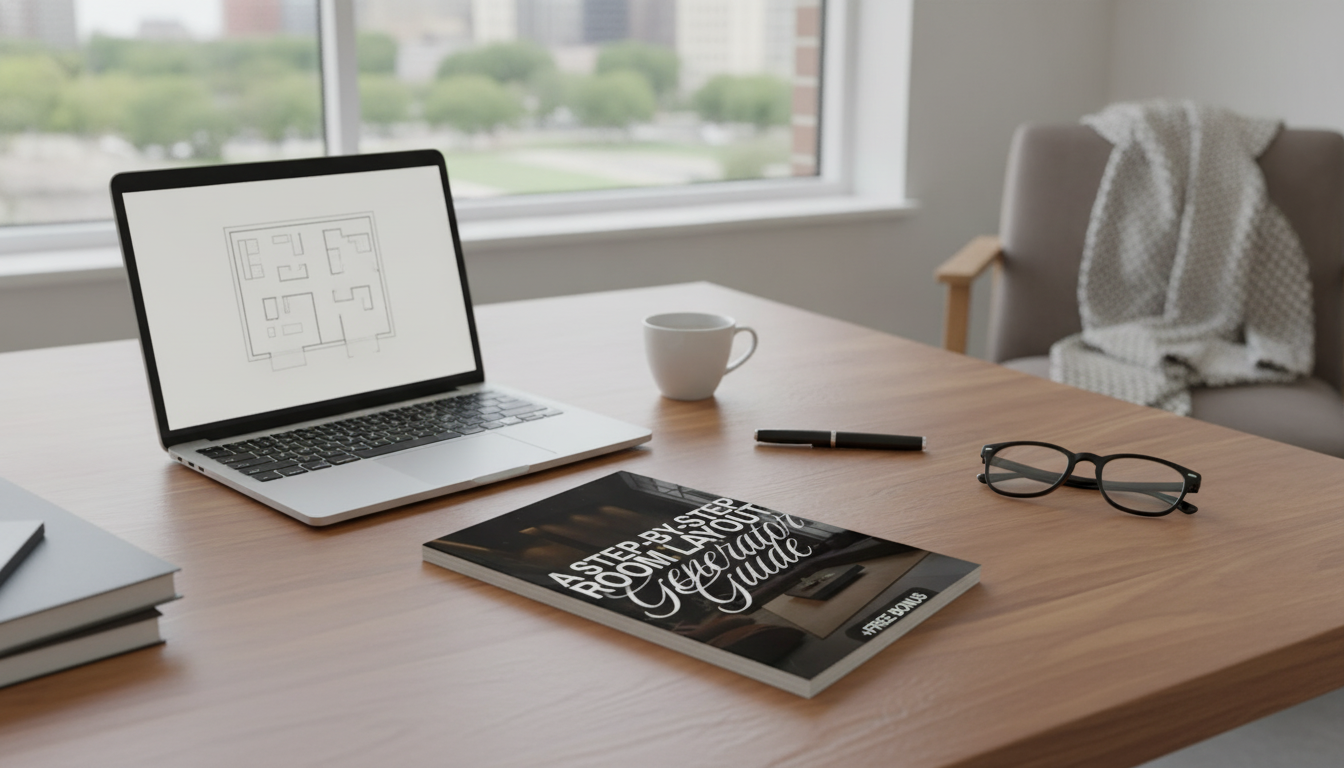
An AI room layout generator takes the basics you’d normally sketch by hand—room dimensions, door and window placement, and furniture sizes—and turns them into multiple workable floor plan options in minutes. Instead of committing to one idea and finding out it blocks a doorway or crowds a walkway, you can test several arrangements quickly and compare them side by side.
It’s especially useful for exploring “what if” scenarios: creating a conversation zone around a sofa, checking TV viewing distance, fitting a desk without glare, building a storage wall, or confirming bed clearances. Where it falls short is anything the software can’t reliably infer from a simple diagram—outlet locations, vent/radiator clearance, uneven walls, or odd trim details. The best results come from precise inputs and a clear priority list for how the room needs to function.
Fast layouts start with accurate constraints. A few quick measurements and notes prevent most “looks good on screen, fails in real life” problems.
If you’re setting up a workspace, it also helps to sanity-check ergonomic basics (monitor height, chair posture, and reach zones) using trusted guidance such as NIOSH ergonomics resources and a general overview of ergonomics fundamentals. For broader residential constraints and safety considerations, the International Code Council is a helpful reference point.
This workflow keeps the AI output practical, not just pretty.
Start by building the room shell. Place doors and windows first and treat them as locked constraints—if the AI tool allows “fixed” objects, use that setting.
Skip generic placeholders whenever possible. If your sofa is 86 inches wide or your desk is 55 inches, enter the real number now. It’s easier to swap later than to “shrink reality” after you fall in love with a layout.
Select a primary goal such as “maximize seating,” “optimize traffic flow,” or “create work zone.” Clear goals produce more useful variations than a vague “make it look nice.”
AI tools often overwrite earlier generations. As soon as you see an option that feels promising, save it. You’ll refine later.
| Criteria | What to check | Pass marker |
|---|---|---|
| Traffic flow | Main paths, pinch points, door swings | 30–36 in main paths; no blocked doors |
| Function zones | Clear separation of tasks (sleep/work/play/dine) | Each zone has a primary piece and lighting |
| Focal point | TV/fireplace/window/feature wall alignment | Seating or bed acknowledges the focal point |
| Comfort & scale | Furniture size vs room size | No oversized piece dominates circulation |
| Storage access | Closets, drawers, cabinets open fully | Full open range without moving furniture |
Adjust the anchor piece—sofa, bed, table, or desk—before nudging smaller items. Rotating the anchor 90 degrees can fix traffic flow instantly. Then adjust the supporting pieces: side tables, bookcases, lamps, and accent chairs.
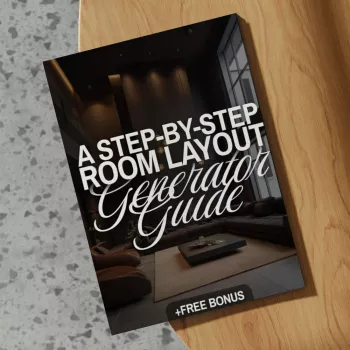
For a repeatable approach you can use room after room, A Step-by-Step Room Layout Generator Guide (Digital Download) is built around quick inputs, structured comparisons, and practical spacing checks. It’s a strong fit for renters, new homeowners, and anyone rearranging without hiring a full-service designer—especially for bedrooms, living rooms, and offices where circulation rules and furniture sizing make or break comfort.
If your plan includes an upgraded workspace, pairing the layout with a supportive seat helps the room function the way it looks. The Sleek Black Height Adjustable Swivel Office Chair fits well into most desk footprints and makes it easier to fine-tune posture and monitor distance. For bedroom storage planning, the Mid Century Modern 3 Drawer Dresser is the kind of piece worth measuring precisely so drawers open cleanly and walkways stay comfortable.
You’ll need the room length and width, plus door and window positions (including swing direction) and any closets or built-ins. Add the exact dimensions of key furniture pieces, and keep all measurements in one consistent unit so clearances stay accurate.
Yes—small and awkward rooms benefit most because you can test many variations quickly and spot circulation problems early. Use right-sized or multifunctional pieces, prioritize clear walkways, and still verify real-life constraints like outlets, vents, and uneven walls.
Apply basic clearance rules, confirm door and drawer openings, and “walk” the main routes on the plan (entry to closet, bed to bath, sofa to kitchen). For extra confidence, tape the furniture footprints on the floor and keep one backup layout option in case the first arrangement feels tight.











Leave a comment